Nov 27, 2022
Serve HTTPS with Node.js and Nginx
Node.js is undeniably a great tool for creating web applications, and is nowadays used in almost all kinds of microservices-based architectures. However, Node.js shows a few shortcomings and vulnerabilities when it comes to serving static content, load-balancing across multiple instances, handling rapid traffic growth or sharing SSL certificates amongst multiple services.
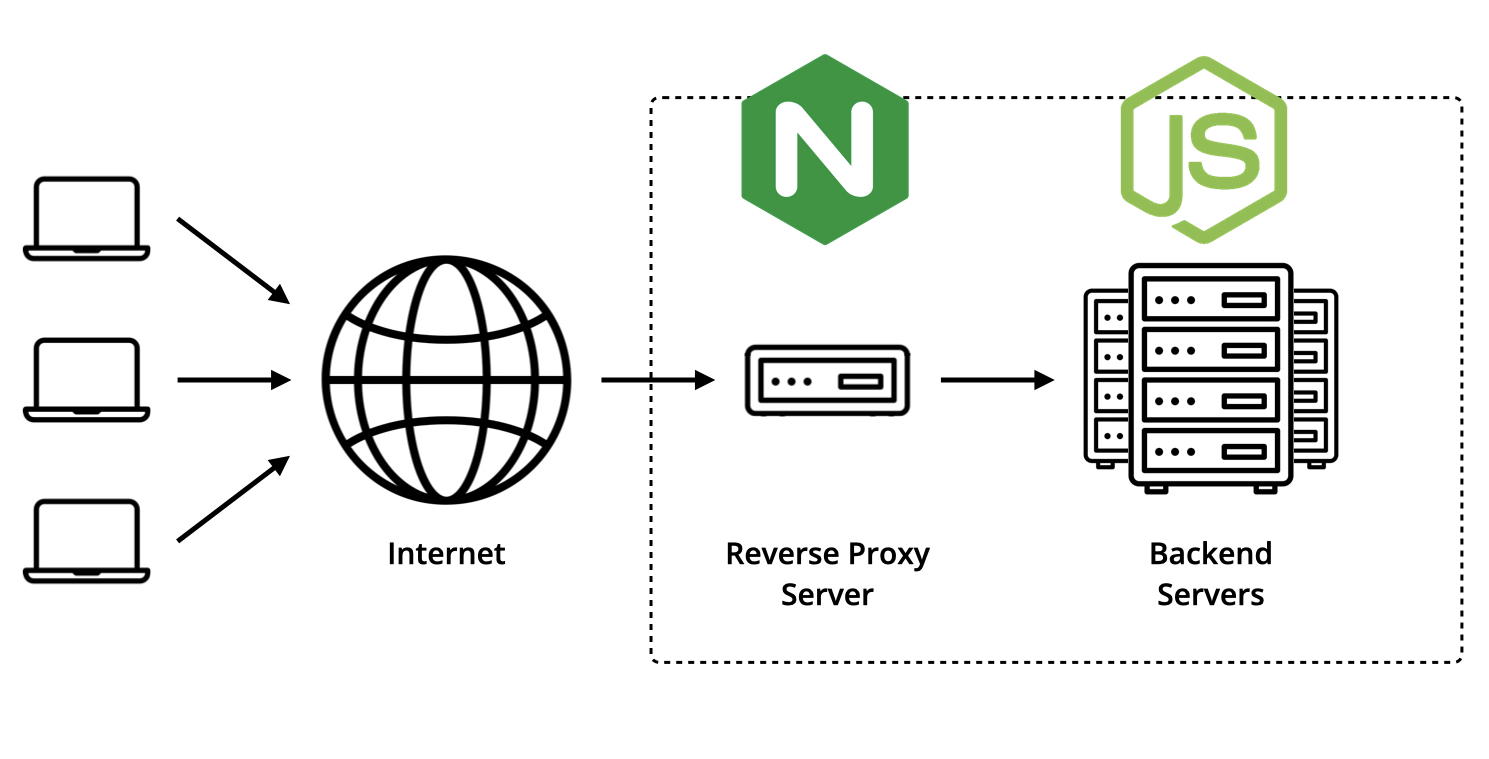
In this article, we'll learn how we can leverage Nginx (pronounced “engine x”) — which is a free and open source web server created by Igor Sysoev that can also be used as a reverse proxy, load balancer, mail proxy and HTTP cache — to handle and forward internet traffic to a simple Node.js application through HTTPS.
A Simple Node.js Application
For the purpose of this article, we'll use the following Node.js server that listens on the port 8000, and implements a single GET /health route that responds with an HTTP 200 OK containing the service's uptime and the current date.
So, let's install the Express framework.
$ npm install express
Add this script into a file named app.js.
const express = require('express');

const app = express();

app.get('/health', (req, res) => res.json({
  uptime: process.uptime(),
  timestamp: Date.now(),
}));

app.listen(8000);
Run it using the node utility.
$ node app.js
And verify that the server is properly working using the following cURL command.
$ curl http://127.0.0.1:8000/health
Which should respond with a similar object.
{"uptime":173.158353287,"timestamp":1668018207202}
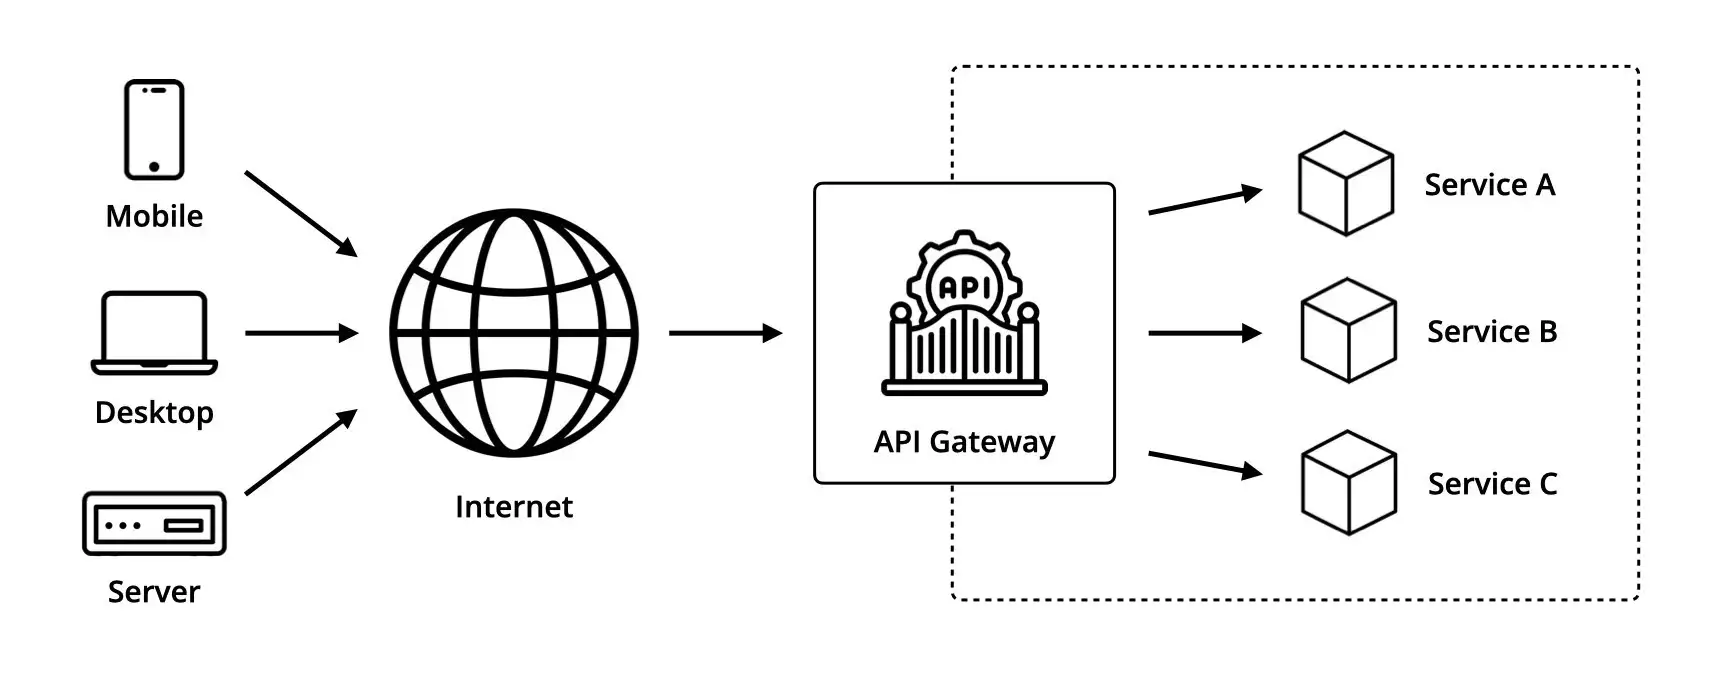
A Word on Reverse Proxy Servers
In software engineering, a reverse proxy server is an intermediary server whose role is to forward requests from multiple clients to the appropriate backend servers or services, and return their responses.
This type of server is commonly used for:
- Load-balancing — which means distributing the requests across the available servers to maximize speed while ensuring no one is overloaded.
- Web acceleration — which includes compressing data, caching commonly requested content, or using SSL acceleration to speed up the inbound and outbound traffic flow.
- Security — which allows multiple services to share and use the same SSL certificate for data encryption.
- Anonymity — which allows to conceal the characteristics of the origin servers by making them appear as a single unit by directing all the requests to a single publicly known address; which in turns helps to mitigate security flaws and DoS attacks attacks.
Setting up Nginx as a Reverse Proxy Server
Let's start by installing Nginx using the apt command. Note that the -y flag is used to automatically confirm the installation of additional packages Nginx would need to run properly.
$ sudo apt install nginx -y
As we’re going to use Nginx to act as an intermediary between the internet traffic and the Node.js application, we’re going to configure it so that any incoming request sent on the port 443 — which is the default port used for HTTPS — is automatically forwarded to the port 8000 — which is the port the Node.js application is listening to.
To do so, let's start by creating a new directory named ssl within the Nginx directory that will contain the SSL certificate and private key.
$ sudo mkdir /etc/nginx/ssl
Let's generate a self-signed SSL certificate using the openssl command.
$ sudo openssl req -x509 -nodes -days 365 -newkey rsa:2048 -keyout /etc/nginx/ssl/server.key -out /etc/nginx/ssl/server.crt
Let's open the default Nginx configuration file located in the /etc/nginx/sites-available directory using the Vim command line text editor.
$ sudo vim /etc/nginx/sites-available/default
Finally, let's update the configuration file with the following values.
server {
  listen 443 ssl;
  server_name _;

  ssl_certificate /etc/nginx/ssl/server.crt;
  ssl_certificate_key /etc/nginx/ssl/server.key;

  location / {
    proxy_pass http://localhost:8000;
  }
}
Where:
- The
listendirective allows for TLS/SSL traffic on port 443. - The
server_namedirective allows to define for which domain name the server block should be applied — in this case, the underscore character acts as a wildcard allowing for all requests. - The
ssl_certificatedirective specifies where to load the public SSL certificate from. - The
ssl_certificate_keydirective specifies where to load the private key from. - The
proxy_passdirective allows to define the address to which the incoming requests should be redirected to.
From here, let's start the Nginx server using the service command.
$ sudo service nginx start
And test our set up using the following cURL command. Note that the -k flag is used to run cURL in "insecure mode" as it would otherwise throw an error due to the use of a self-signed certificate.
$ curl -k https://127.0.0.1/health
Final Thoughts
To wrap it up, I should mention that when in production, self-signed SSL certificates won't work and need to be acquired from a trusted Certificate Authority such as Cloudfare, DigiCert, GeoTrust, and so on. I also encourage you to check out Nginx's official documentation to learn more about directives and advanced configurations.