Setting Up the Project
Layered Architecture·19 min read·Jan 1, 2025
When starting a new project in Node.js, the first step consists in properly setting up the project's directory using industry-standard tools, such as:
-
Git to enable version control and collaboration.
-
npm to create the project's manifest.
-
Eslint to enforce consistent coding practices.
Creating a Git repository
As defined per the Twelve-Factor App methodology, the code of an application should always be tracked in a version control system, such as Git, as it allows developers to keep a record of the changes made to the application, so that they can revert to specific versions should they ever need to.
Creating a repository on GitHub
To create a new repository on GitHub, you need to.
-
Logging in to your Github account or signing up if you don't have one yet.
-
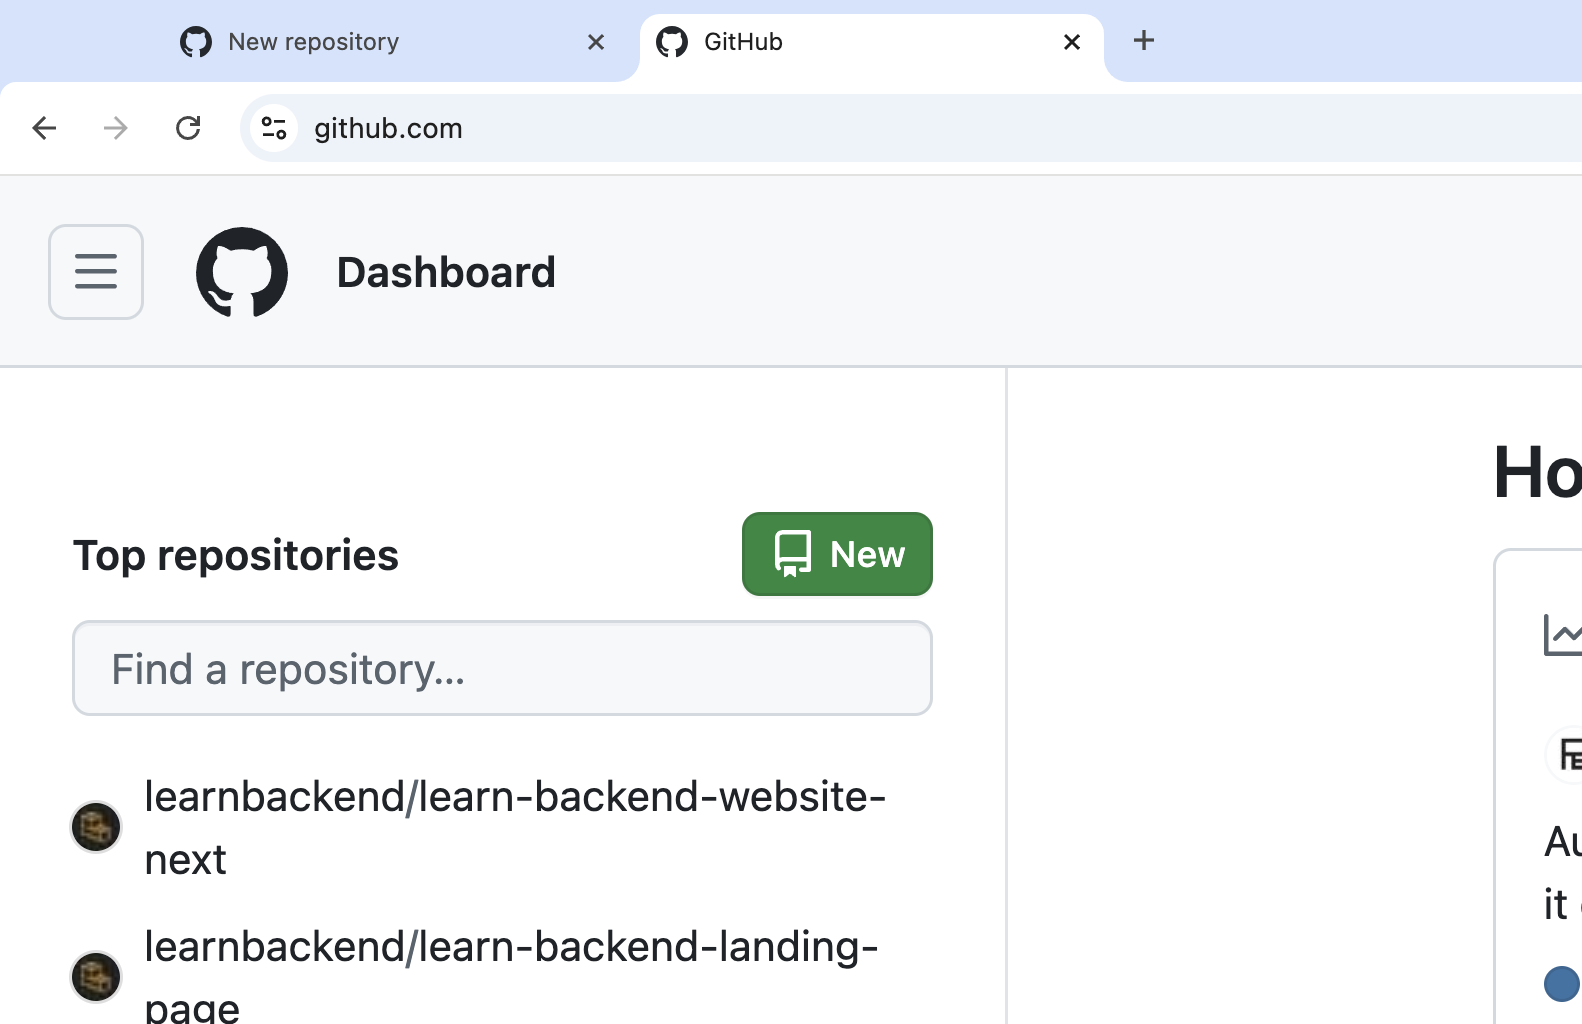
Click on the "New" button to create a new repository.
-
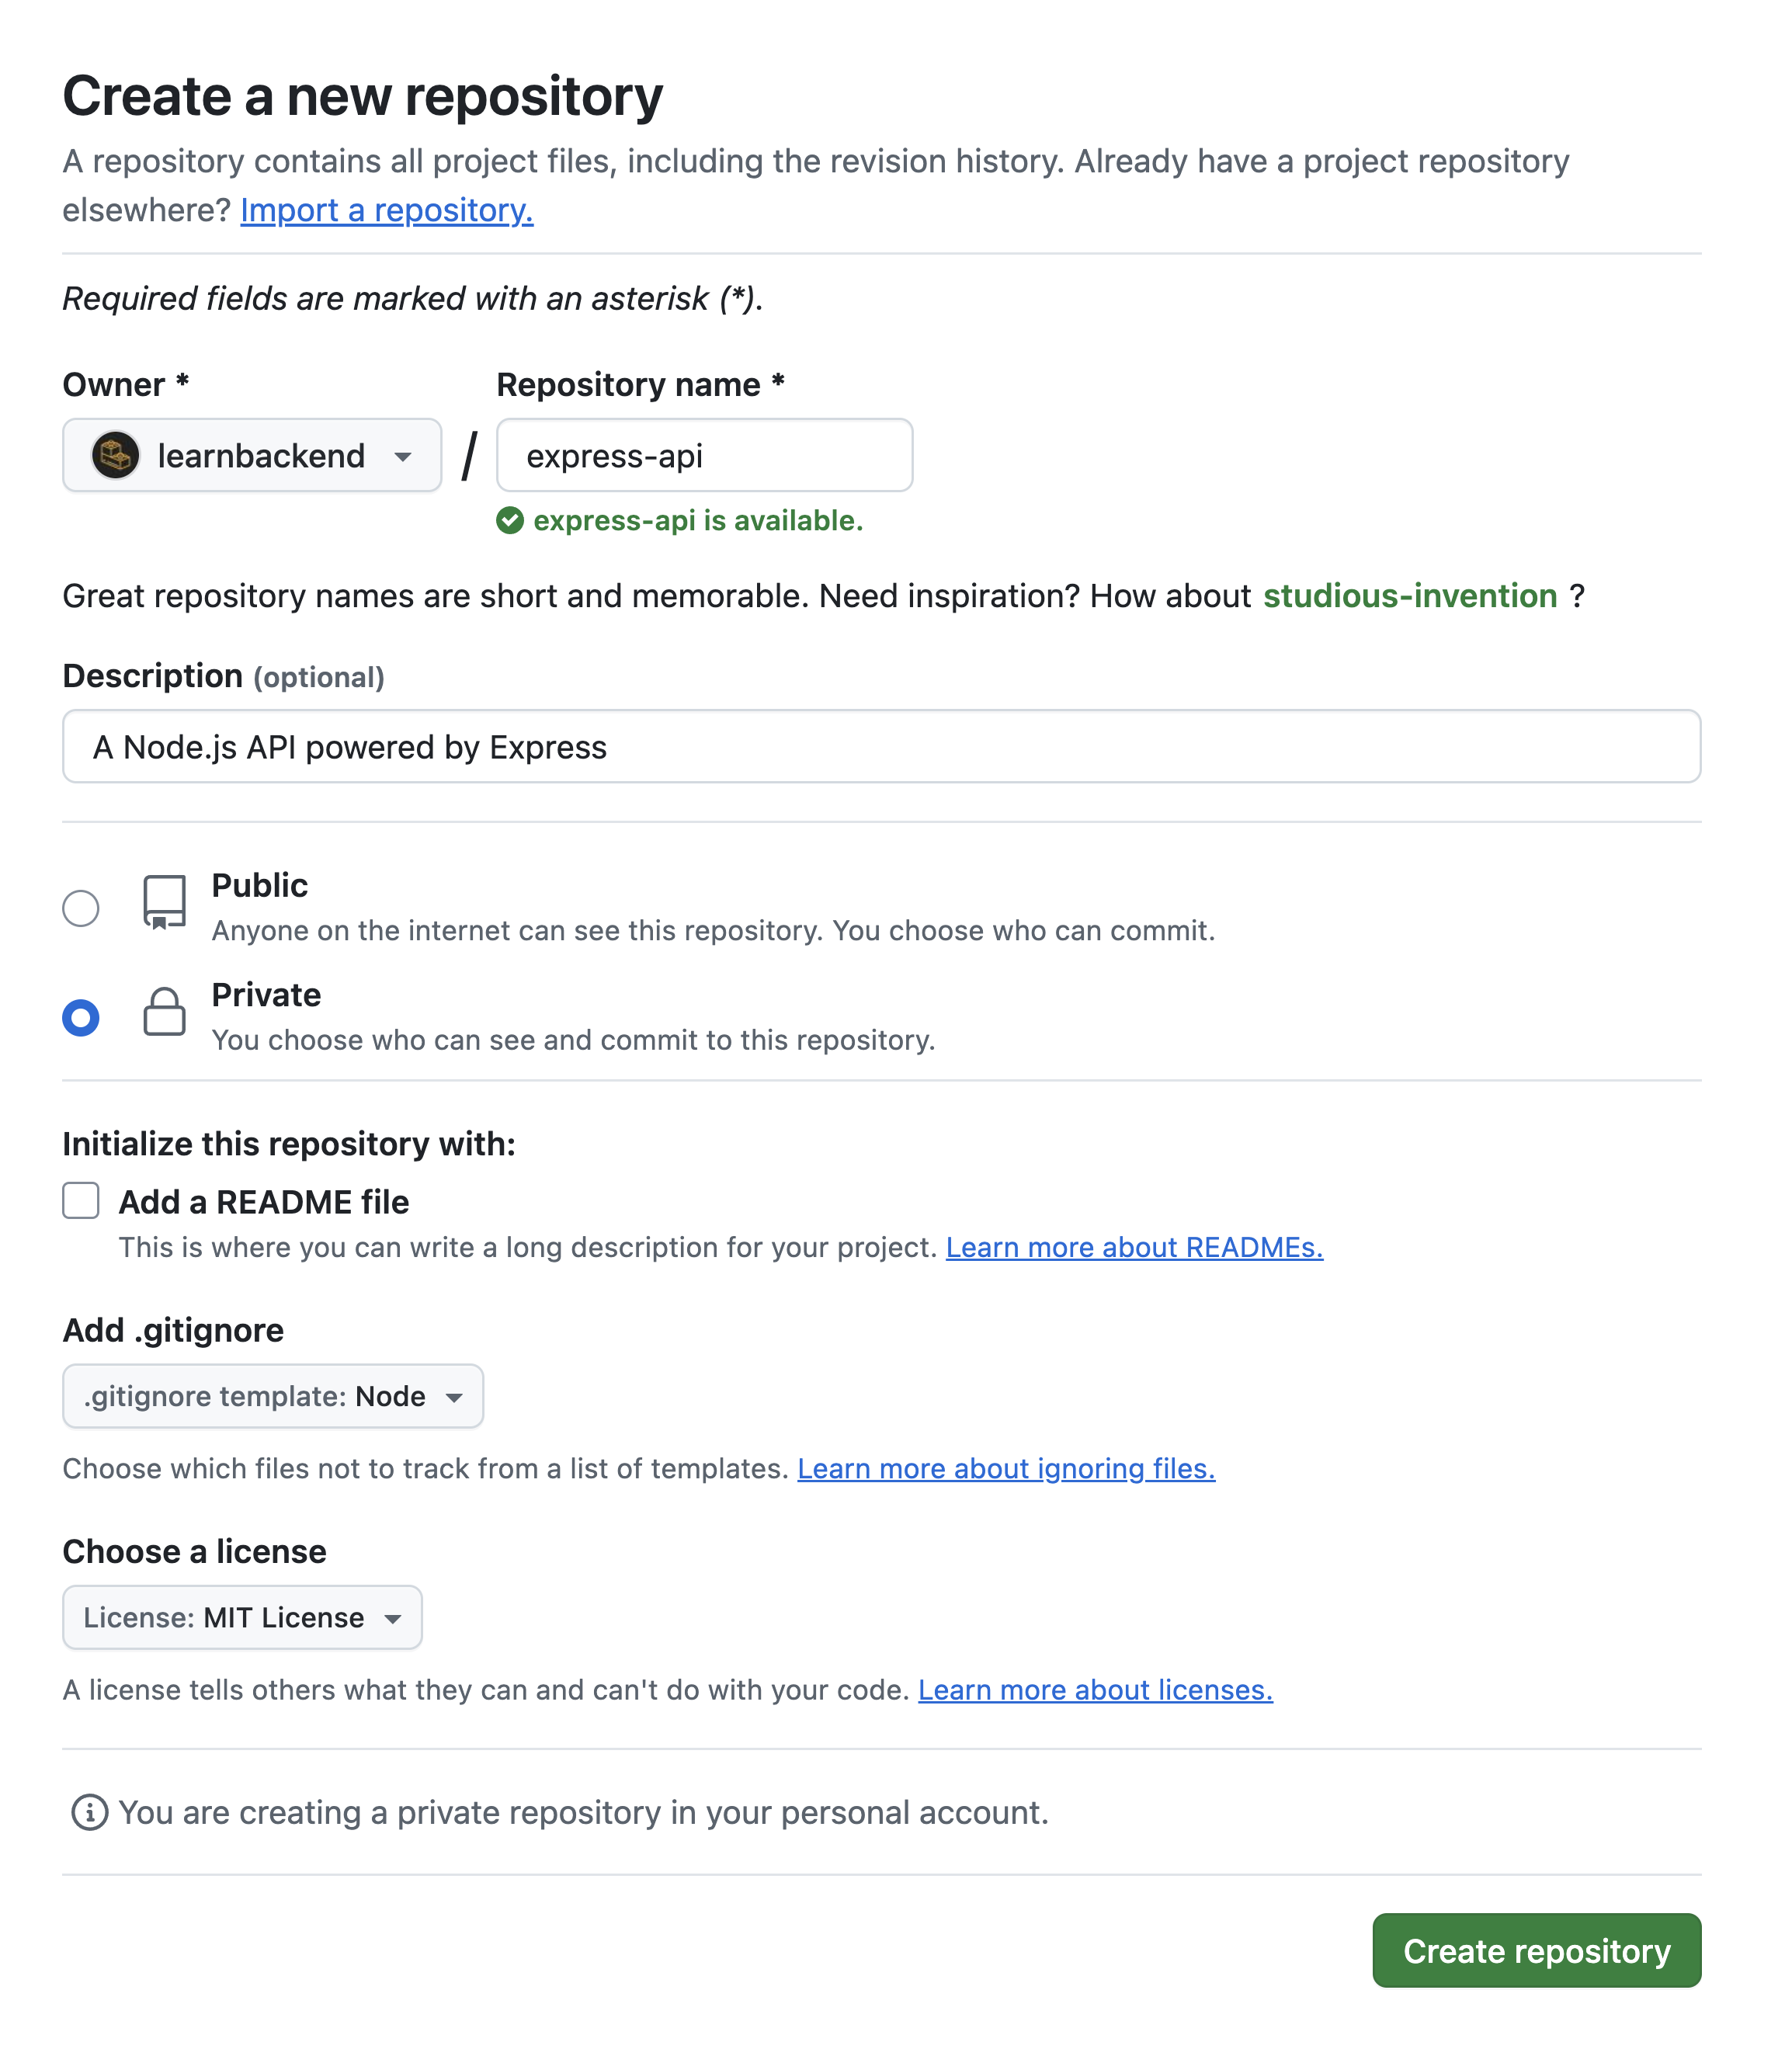
Fill in the project's name, description, visibility, .gitignore, and license.
-
Click on the "Create repository" button.
Cloning the repository locally
To download a local copy of your GitHub repository, you need to:
-
Click on the "Code" button and copy the repository's URL.

-
Run the following
git clonecommand in a new terminal window to download a local copy of the repository into the desired directory:$ git clone <url> <path>
Creating the application's manifest
As defined per the Twelve-Factor App methodology, an application should never rely on the implicit existence of system-wide packages.
It should declare all dependencies, completely and exactly, via a dependency declaration manifest.
Initializing the project with npm
In Node.js, this manifest is the package.json file and is located in the top-level directory of the project.
It includes the list of packages it depends on, but also the information about the project itself, such as its name, description, author, repository, and so on.
To initialize your application, you need to:
-
Enter your project's directory.
$ cd express-api -
Run the
npm initcommand.$ npm initHere's an example of what your
package.jsonfile should look like afterwards:{ "name": "nodejs-authentication-microservice", "version": "1.0.0", "description": "A Node.js authentication microservice powered by Express", "main": "app.js", "scripts": { "test": "echo \"Error: no test specified\" && exit 1" }, "repository": { "type": "git", "url": "git+ssh://git@github.com/learnbackend/nodejs-authentication-microservice.git" }, "keywords": [ "node.js", "authentication", "microservice", "express" ], "author": "Razvan Ludosanu", "license": "MIT", "bugs": { "url": "https://github.com/learnbackend/nodejs-authentication-microservice/issues" }, "homepage": "https://github.com/learnbackend/nodejs-authentication-microservice#readme" }
Setting up a code linter
A code linter is a tool that helps developers improve the quality of their code by statically analyzing it and flagging errors, bugs, stylistic errors, and suspicious constructs.
Installing Eslint
The most popular linter for JavaScript is ESLint, and can be configured using the following command:
$ npm init @eslint/config
When prompted with the following questions, use the arrows of your keyboard to navigate the list of options and select the underlined answers by pressing the ENTER key:
- How would you like to use ESLint?
- To check syntax, find problems, and enforce code style
- What type of modules does your project use?
- CommonJS (require/exports)
- Which framework does your project use?
- None of these
- Does your project use TypeScript?
- No
- Where does your code run?
- Node
- How would you like to define a style for your project?
- Use a popular style guide
- Which style guide do you want to follow?
- Airbnb: https://github.com/airbnb/javascript
- What format do you want your config file to be in? …
- JSON
- Would you like to install them now?
- Yes
- Which package manager do you want to use?
- npm
If you now look within the project's directory, you'll notice a new file named .eslintrc.json that contains the ESLint configuration we just created, which can be customized to fit the project's needs.
{
  "env": {
    "browser": true,
    "commonjs": true,
    "es2021": true
  },
  "extends": "airbnb-base",
  "overrides": [
  ],
  "parserOptions": {
    "ecmaVersion": "latest"
  },
  "rules": {
  }
}
Running the linter
To run the linter, we can use the following npx command, that will output a list of warnings and errors found in the project's files:
$ npx eslint file.js [file.js] [dir]
To display the full list of available linting options, we can use the -h flag:
$ npx eslint -h
Note that for a better ease of use, you can also add the following npm script in the package.json file:
{
  "scripts": {
    "lint": "npx eslint ."
  }
}
Fixing errors in files
To output a list of suggestions for potential fixes, you can use the --fix-dry-run flag:
$ npx eslint --fix-dry-run file.js
To fix these errors, you can either manually edit the source code of each file, or automatically by using the --fix flag — which will try to fix as many issues as possible:
$ npx eslint --fix file.js
💡 Tip: As good practice, it's encouraged to systematically run the linter before committing your code to the Git repository.
🗒️ Summary
Here's a summary of what you've learned in this lesson:
-
The code of an application should always be tracked in a version control system, such as Git.
-
An application should declare all dependencies, completely and exactly, via a dependency declaration manifest.
-
In Node.js, the application manifest is the
package.jsonfile created using thenpm initcommand. -
A code linter is a tool that helps developers improve the quality of their code by statically analyzing it and flagging errors, bugs, stylistic errors, and suspicious constructs.
-
In JavaScript, the most popular linter is Eslint, which can be configured using the
npm init @eslint/configcommand.
Unlock the Build Layered Services in Node.js module
Learn how to build well-structured, easily maintainable, and resilient microservices with the three-layer architecture.
You get immediate access to:
- 10 focused lessons across the three-layered architecture
- 1 real-world commented, step-by-step project
- Ongoing updates to this bundle
- Lifetime access to this bundle